Make a Christmas stocking with Start to Stitch
Annie Lucas, founder of Start to Stitch, shows us how to make a patchwork Christmas stocking using preloved fabric.

Looking for an extra special homemade gift? Or a new crafting project to put you in the festive mood? Try giving new life to preloved fabric this Christmas with our patchwork stocking tutorial from Annie at Start to Stitch.
You can download the full photo guide here which explains each step in further detail.
You will need:
- A sewing machine
- Printed Seasalt x Start To Stitch stocking pattern (click to open)
Haberdashery
- Lightweight wadding or cotton batting (no smaller than the size of a piece of A3 paper)
- Thread scissors
- Pins/clips
Fabric
- Front: A selection of scraps to fit the pattern (approx. 10cm x 7cm)
- Back: 1 x scrap the size of a piece of A4 paper
- Lining: 2 x scraps the size of a piece of A4 paper

Printing your pattern
- Download your Seasalt X Start to Stitch pattern file here and print it. Make sure you set your printer to print at ‘actual size’ or ‘100%’ (not ‘fit to page’ or ‘scale’).
- Cut out your pattern and fabric to match.

Sewing your stocking
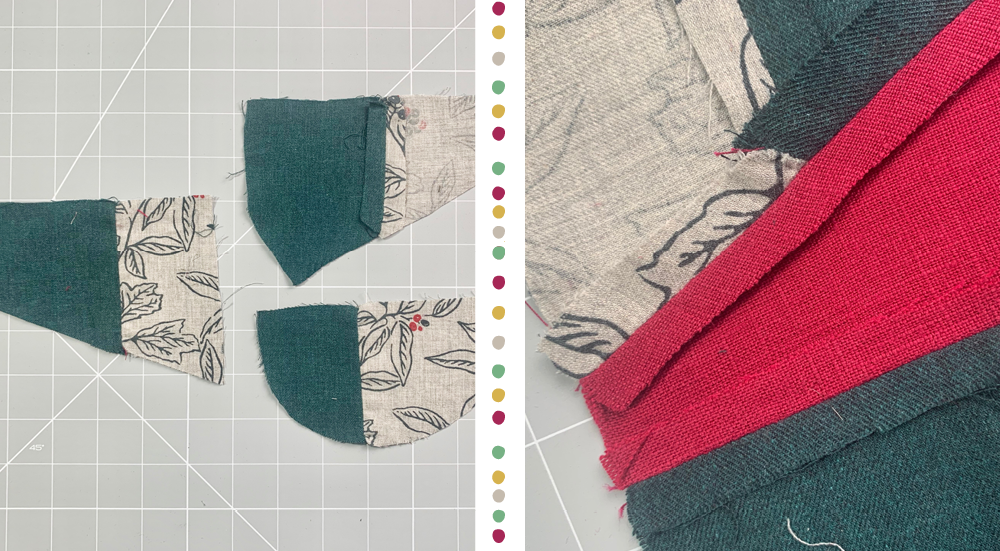
- Start crafting the front of your stocking by sewing your patchwork pieces together in sections.
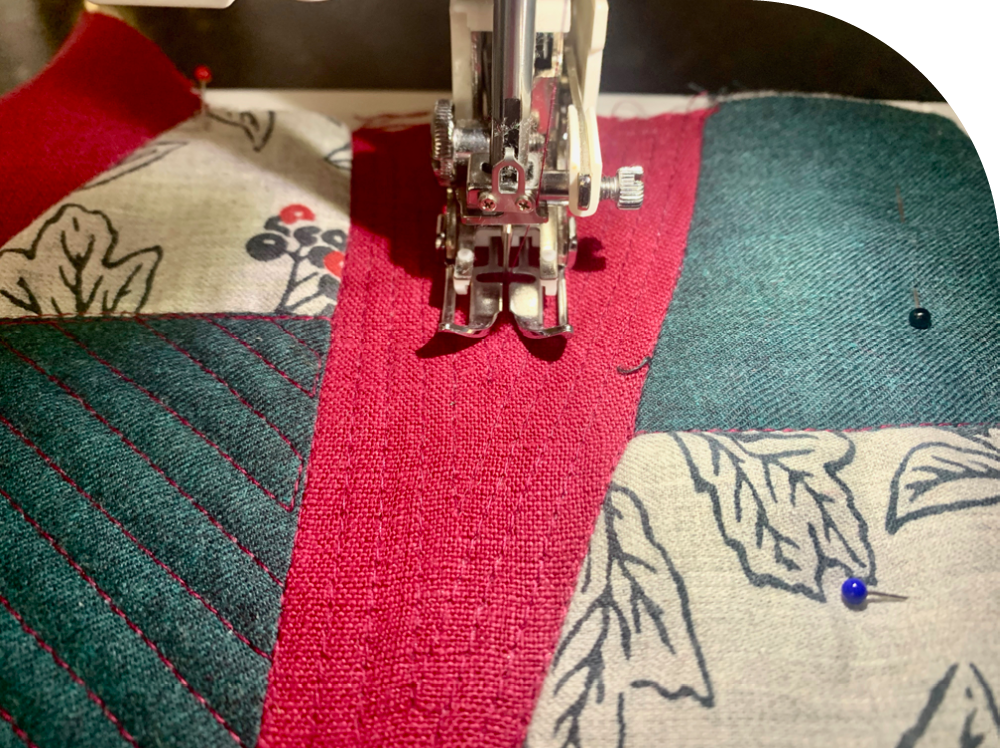
- Pin your patchwork front to a piece of wadding, then quilt each section in your preferred design.
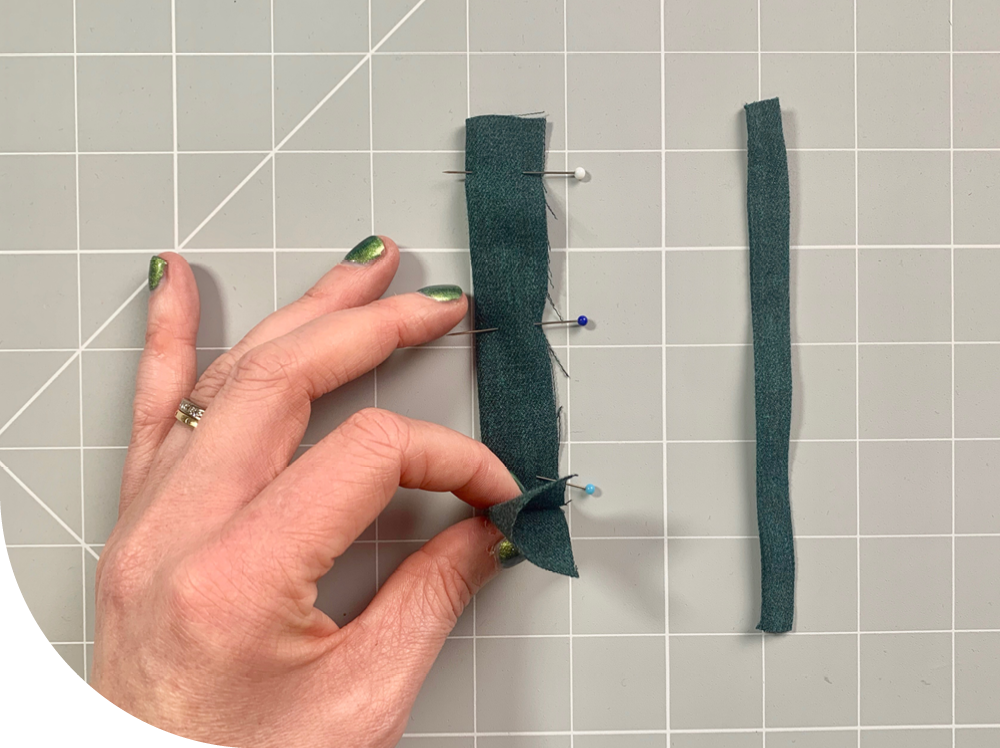
- Make the loop for your stocking by cutting a 4 x 14cm piece of fabric. Fold it right sides together and stitch at a 1cm seam allowance. Turn through and press.
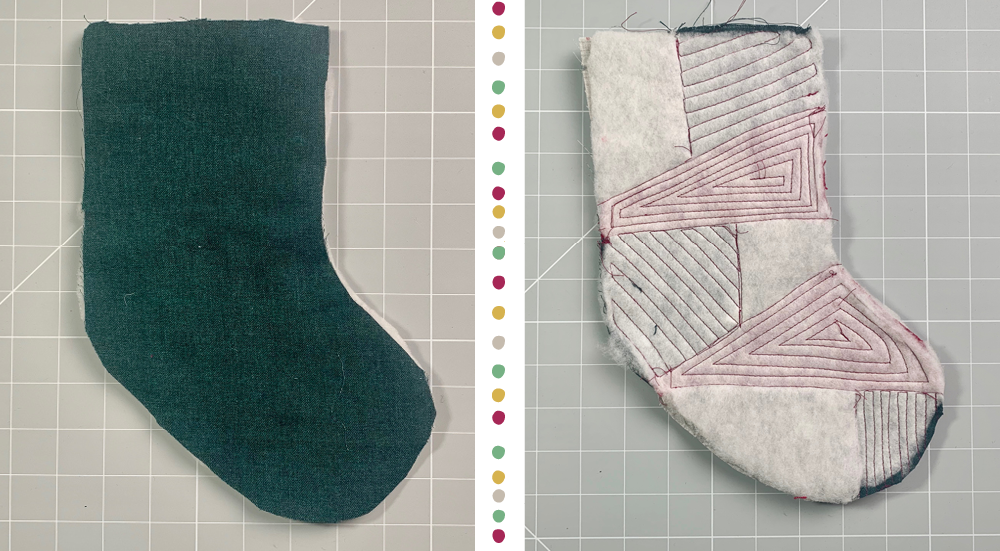
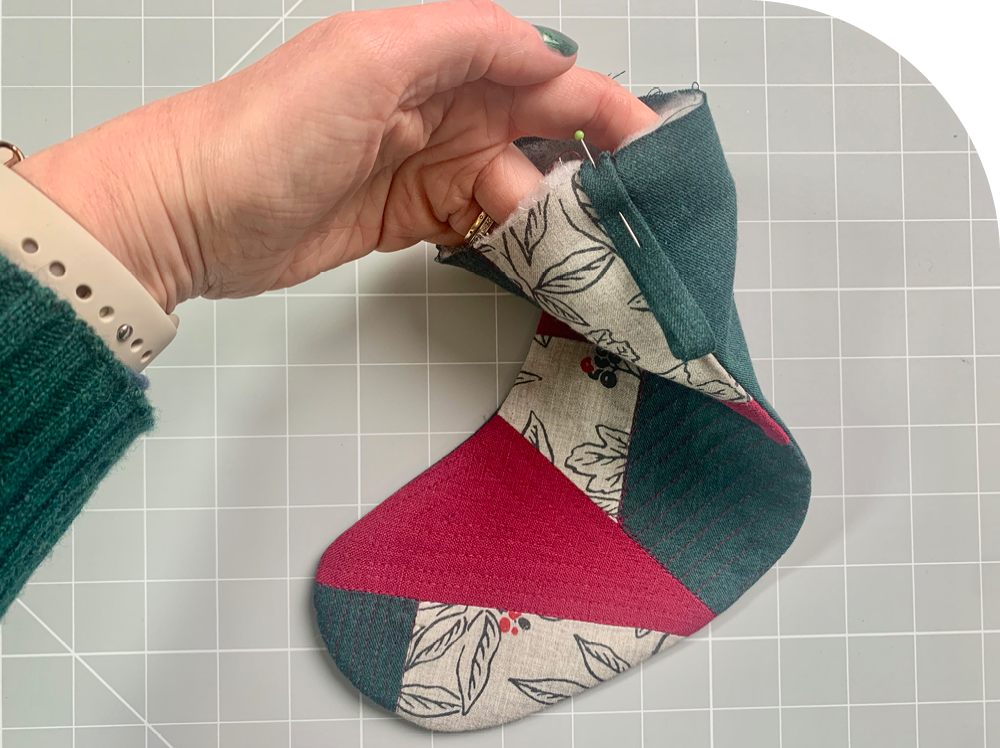
- Next, place your wadding onto the table, then layer the back piece of fabric on top of it. On top of both these pieces, lay your patchwork stocking front face down. Pin all three layers together and then stitch together, leaving the top edge unstitched.
- Turn your stocking the right way out. Then pin and sew your loop to the side of the stocking.
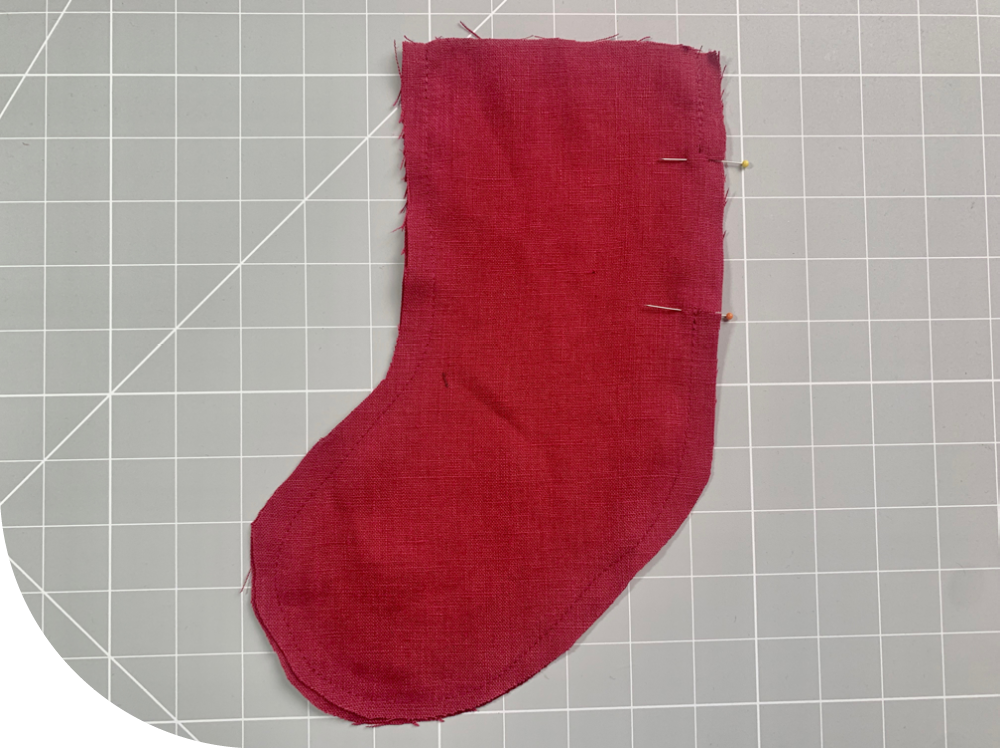
- Pin your two lining pieces right sides together. Stitch around the edge, leaving the top edge and a 6cm gap on the straight edge between the pins for assembly.
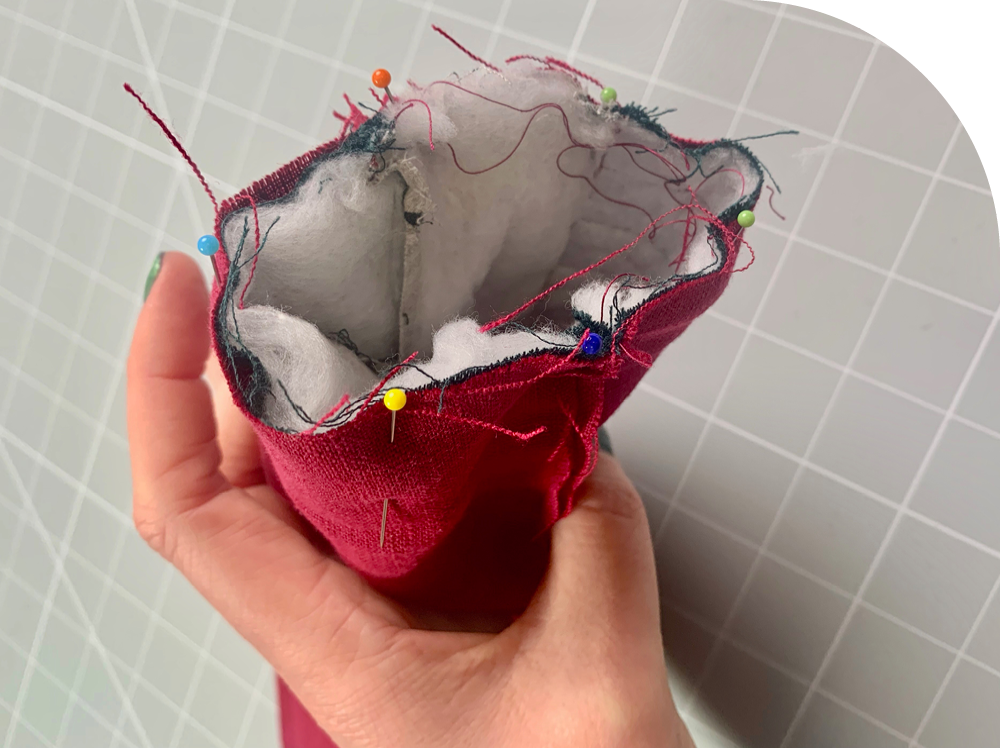
- Put your padded stocking outer inside your lining piece, making sure they are right sides together (the wadding will be on the inside). Pin together and then sew around the straight edge at the top.
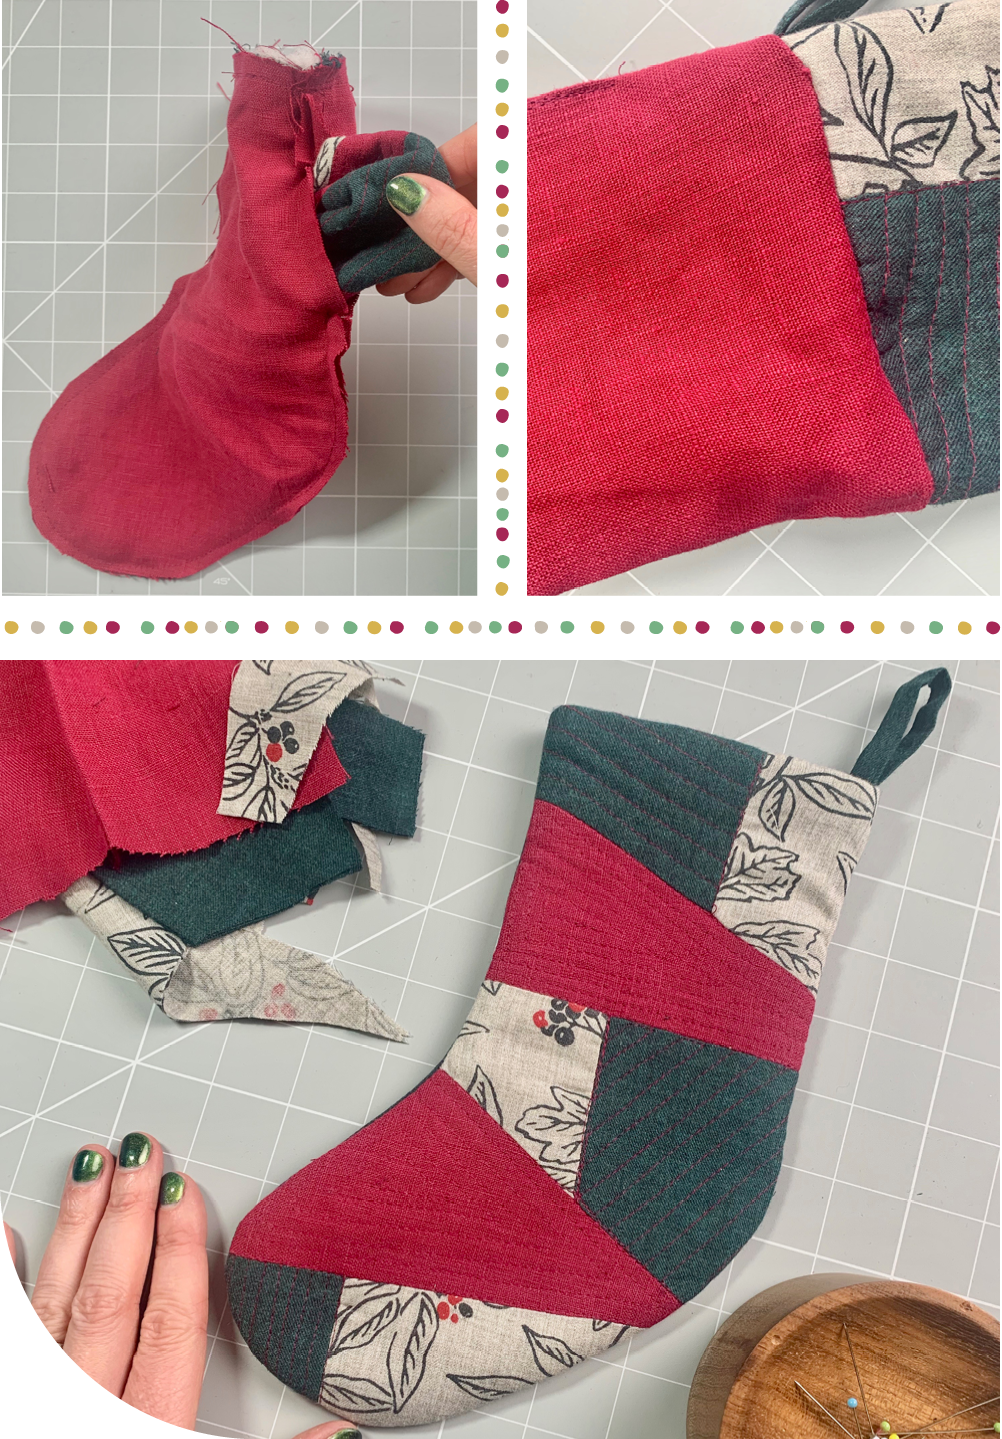
- Bag out the stocking by pulling the padded outer layer through the hole that you left in the lining seam. You will have what looks like two socks stitched together at this point. Hand stitch the remaining seam closed and push the lining inside your stocking to finish.
Share your Christmas stocking crafts with us on Instagram by tagging @seasaltcornwall and @starttostitch. For more creative projects and upcycling inspiration, find more crafting tutorials on Seasalt Stories.
